


My first attempt at a cardigan was based on my bathrobe coat pattern using a lightweight double cotton jersey in a black and grey chevron. This just ended up being way too oversized and just plain baggy and sloppy for my to want to wear it. I tried taking it in, but it's still not great so I've resigned it to my to be remade pile. I figure there is enough material there to make a nice shirt.


So my original plan for this cardigan was to remake that style in a different fabric.
I took a trip to the fabric store to look for some material and found a beautiful piece of fabric in a black and white checkered houndstooth pattern.

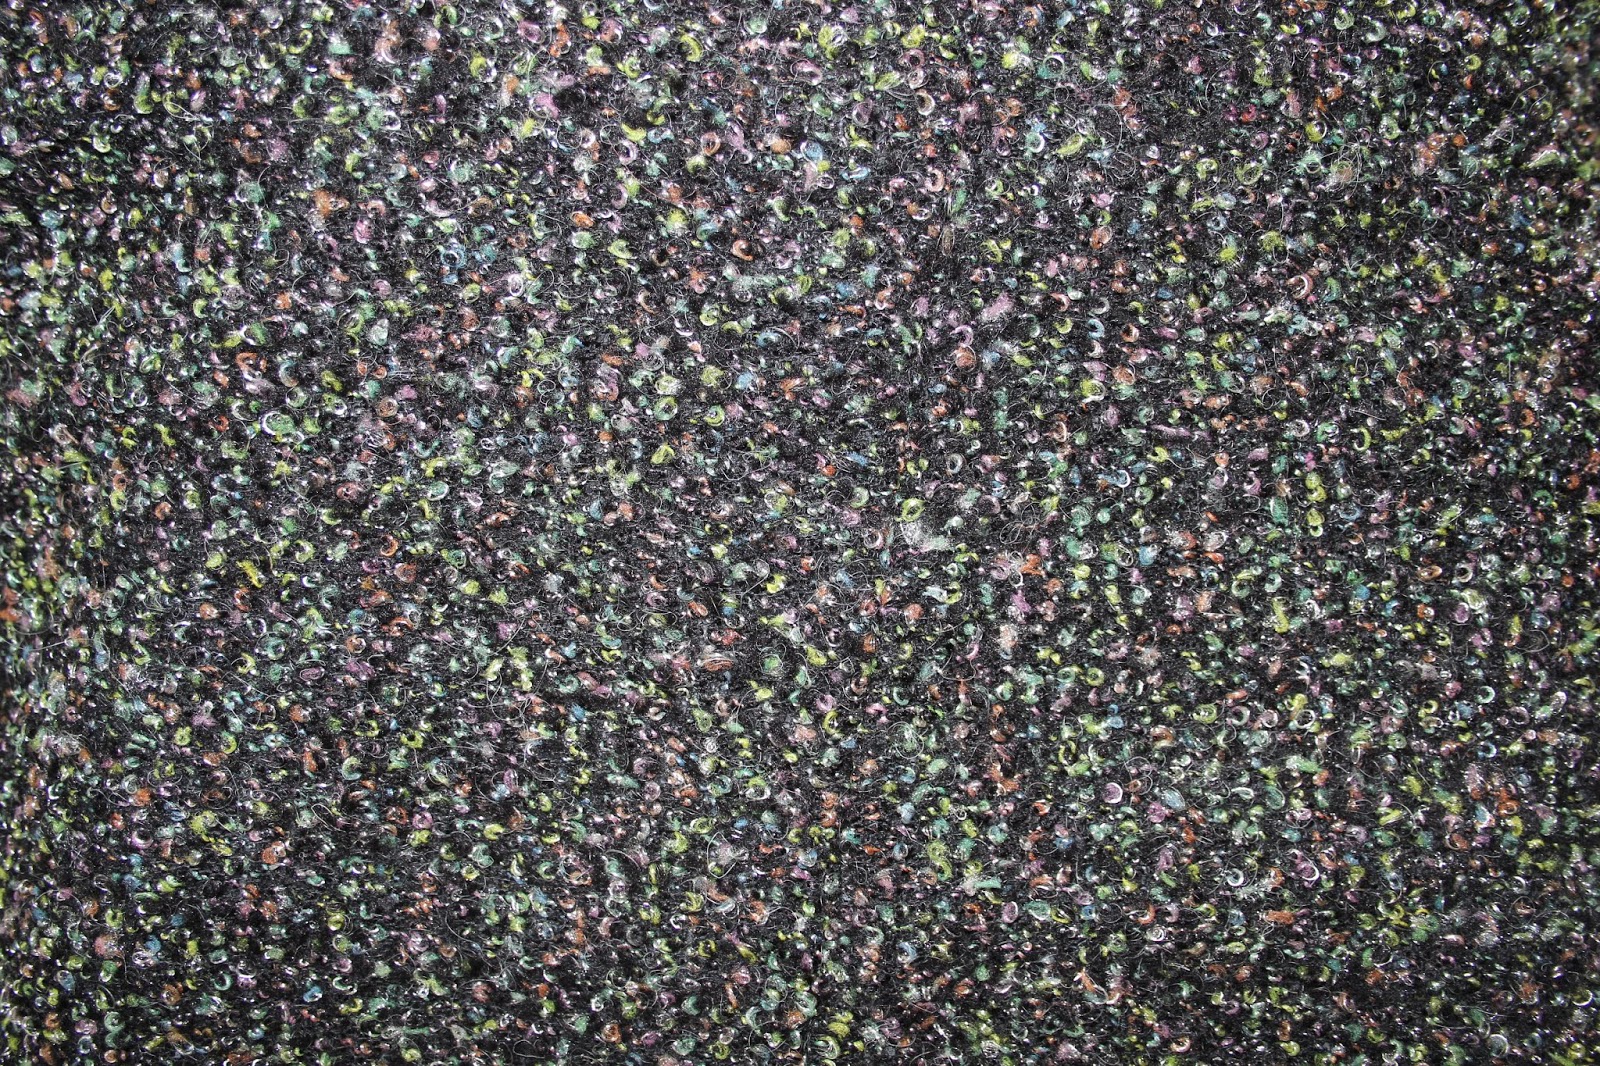
This fabric feels delicious. I found it with all the flannel fabrics but I don't know if it really is a flannel. The pattern is definitely woven in rather than printed on and whatever it is it feels nice and warn and snuggly. As I was just about to leave I also spotted a black and multicoloured boucle wool fabric that I liked and decided to grab a bit of that as well.
When I got my fabric home I started researching houndstooth cardigans to try and get a feel for what my fabric would look like made up into a cardigan and whilst browsing I ran across this picture.

which piqued my interest. I like the idea of the cut away at the front and the simple collar. and so I decided to try and recreate it.
To create the pattern I started with the McCalls 7478 pattern.

I decided how long I wanted my cardigan at the back - which turned out to be 6"shorter than the pattern and traced off the center back and side back pattern pieces to this length. This pattern has princess seams that go to the shoulder and I wanted princess seams that start at the front and back armhole so I modified the pattern accordingly. I then took some of the flare out of the skirt. I straightened out the center back seam so that it can be cut on the fold. I think I took about 4" off each side at the bottom of the back princess seams and the same at the side seam.
Then I started work on the front. The side front pieces I again took from the McCalls pattern modifying the princess seam to come from the armhole rather than the shoulder. I took about 4"off each side of the princess seam and the side seam to match the back. The front piece is taken from the McCalls pattern but then I extended the front line straight up to shoulder height. This can then be turned back into a simple collar.
I wasn't entirely sure that the front patter pieces were correct so rather than test it on my good herringbone checkered fabric I decided to use the wool boucle first. Technically this fabric was more expensive but it was less precious to me so I was more happy to sacrifice it if it didn't work. I cut out my pattern pieces and basted it all together and I was really happy with it.

The only modification I had to make was to take in the seam at the underarm by 1" tapering to nothing at the cuff and the waist. I felt like I didn't need quite so much ease there in a cardigan was I would in a big winter coat.
Now for the finishing touches. I added pockets into the side front panels by just cutting a second layer of the lower half of the panel creating another curve at the pocket opening to match.

I finished the top of the pockets using a piece if satin ribbon turned under and top stitched in place.
I then recut the center front pieces and the top 1/4 of the center back pieces to use as facings securing the facings by stitching in the ditch along the princess seam lines.

I used a small piece of interfacing between the front and facing at the center front where I wanted to put the buttons.
I added two blue sparkling buttons from the stash and added two pink button holes on the otherside.

I have to say I love this cardi and I can't wait to see what this pattern is going to look like in the houndstooth fabric.

its a really lovely make and the curved front hem is a great touch. looks fab
ReplyDelete