I've always love the idea of jumpsuits and after trying the Closet Case Sallie Jumpsuit and actually liking the way it looked on me I've been keen to try again. I've made a couple of short jumpsuits for summer, but when I saw the Sirocco with the fitted waist, wrap front and fun pleating on the pants I knew I wanted to give it a go.

I immediately printed it out and taped it together, but then the hard bit started, trying to figure out what size to print.
Sizing:
This is something that I struggle with every time. Feel free to jump through this boring stuff -I just like to document it so I know what I did this time so I can either do it again if it works or try something different if it doesn't.
Where to start with the sizing. First off I measured my body.
Bust 41"
high bust 37"
underbust 34
waist 40.5"
hips 43.5"
According to the pattern that puts me in:
Bust (based on bust measurement)- size 46
waist - off the chart - above size 52
hips - size 46
I found that Deer&Doe design their clothes for a size C-D bust (mine is a size G or thereabouts) and 5'6" (I'm 5'1") so I knew the first thing I was going to have to do was take out length - the question was where.
I grabbed one of my fitted to me patterns and lined it up with the bodice of the sirocco pattern.
For the back bodice: Making sure that the center lines aligned I found that I wanted to cut the back shoulders at size 40 tapering out to 46 under the arms. However I then had to raise the back neckline to a size 52 to account for my rounded back/shoulders (hunchback).

I decided where I wanted the waistband based on my original pattern and found that I needed to take 2.25"out of the length at center back grading out to only 1.5"at the side seam.
For the front bodice: I pretty much redrafted this entirely.. I originally tried to do something similar to what I did at the back, grading from a 38 at the shoulders to a 46 under the arms, but when I basted it together and tried it on it gaped horribly at the underarm and the front was too short overall - It wasn't pretty.
So for my second attempt I went back to my fitted pattern. I aligned the center front of my fitted pattern with the center front marks on the sirocco pattern and then moved it up and down this line until the side seam matched up with the back side seam with enough length at the front to make it sit where it's supposed to. This meant that the front shoulder height was cut at size 50 but then the inside shoulder point was brought in to match the back shoulder length. I also had the raise the underarm point by 1.75". The width under the arm was graded from about a 44 to a 52 at bust level and then the pattern tapers down to the size 52 length. I'm not 100% happy with the way the front bodice fits around the armhole - I had to do some tweaking to get the sleeve to fit right.


Waistband: since I was off the charts for this measurement I decided to just cut it at size 52 and see how it fit and it worked fine so that's what I kept. To fit the back and front pieces onto the waistband I just played with the width of the darts. I reduced the back darts to 3/8" and ended up using a 1.5" dart at the front.
Pants: When it came to the pants I knew I wanted to keep the pattern as drafted at the top of the pants - those pleats are the detail that really make this pattern special and I didn't want to play with that. I knew my waistband was a size 52 so I started by cutting my pants at a straight 52 width, but with 2" taken out at about knee height. I then basted it together and figured out just how much had to come out. I decided I needed at least 1" out of the rise, plus another 1" out of the length at the thigh. I then tapered the pants in to a size 42 at the crotch and then down to 40 at the ankle. The pockets were cut at the size 52 but tapered in along with the side seams.

Sleeve: The final issue was the sleeve. I originally cut the sleeve at the size 38 sleeve cap tapered to 46 at the underarms as I had cut out the bodice before I found out I had to change the front and add the extra height at the back shoulder for my hunchback. The overall circumference of the sleeve was still good but the distribution was out, so I ended up staggering the underarm seam so it no longer lines up with the side of the bodice but is about 1" skewed to the back. Not the best but I didn't have enough material left over to recut them so I just went with it.

To get the sleeves to fit nicely I ended up having to take a 1.25" seam in the front of the arm hole tapering to about 7/8" at the shoulder and to the standard 3/8" about 2" down the back of the shoulder and under the arm. I will have to go back at some stage and figure out why this was necessary, but for now I'm just going to enjoy my finished jumpsuit.

Construction: Once I finished making all my pattern modifications I sewed the whole thing together. Most of it was done on the overlocker, with hems done with a zig zag on the normal machine. I took a 2" hem in the bottom of the pants to get them to the length I wanted. I didn't have any clear elastic for the pockets so I used some dodgy fold over elastic instead and it worked fine. It's a bit bulky but at least the pockets sit nicely. The sewing and construction is really quite easy - it's just the fitting that takes a while, but I'm sure if you are a more standard size it wouldn't be as bad!

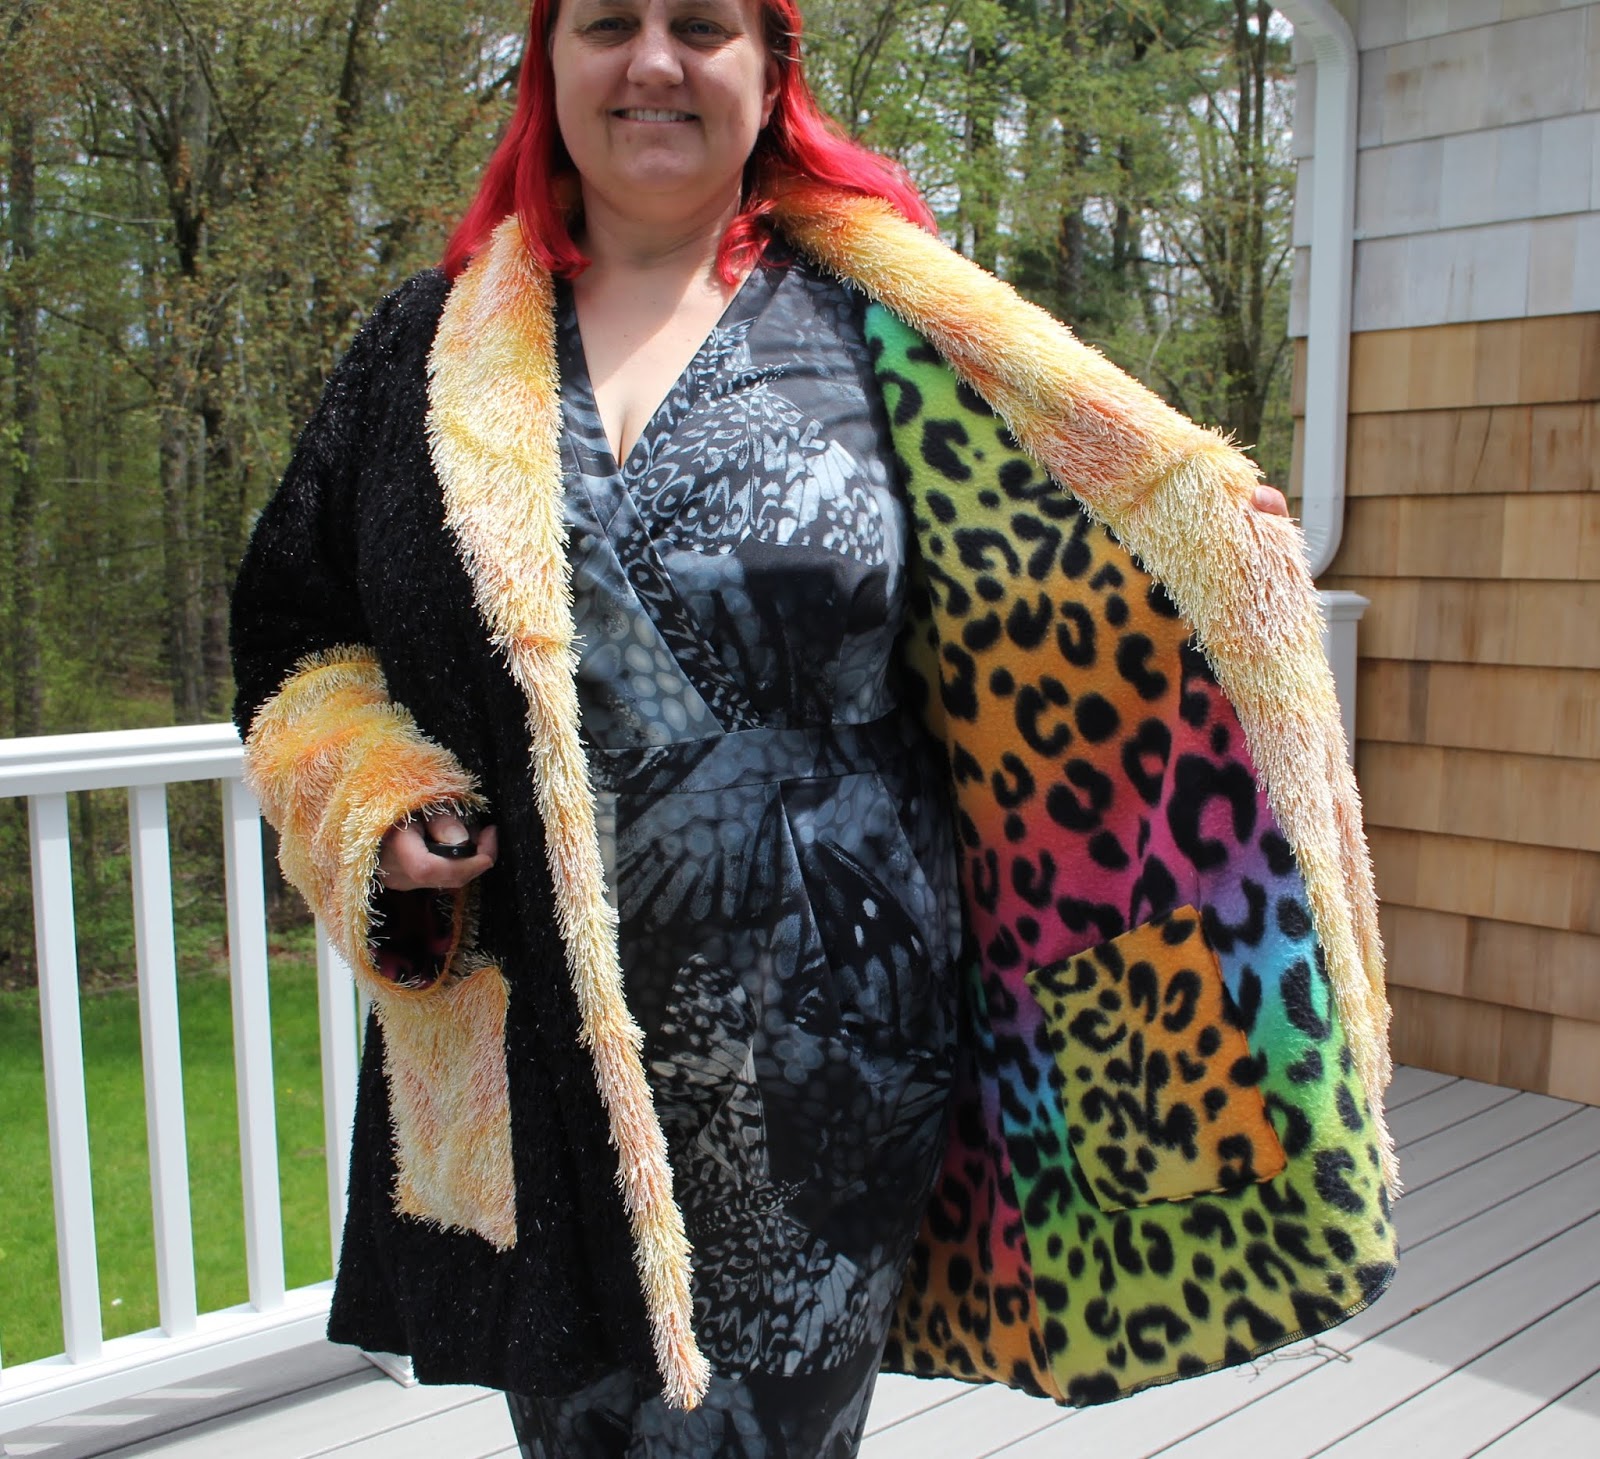
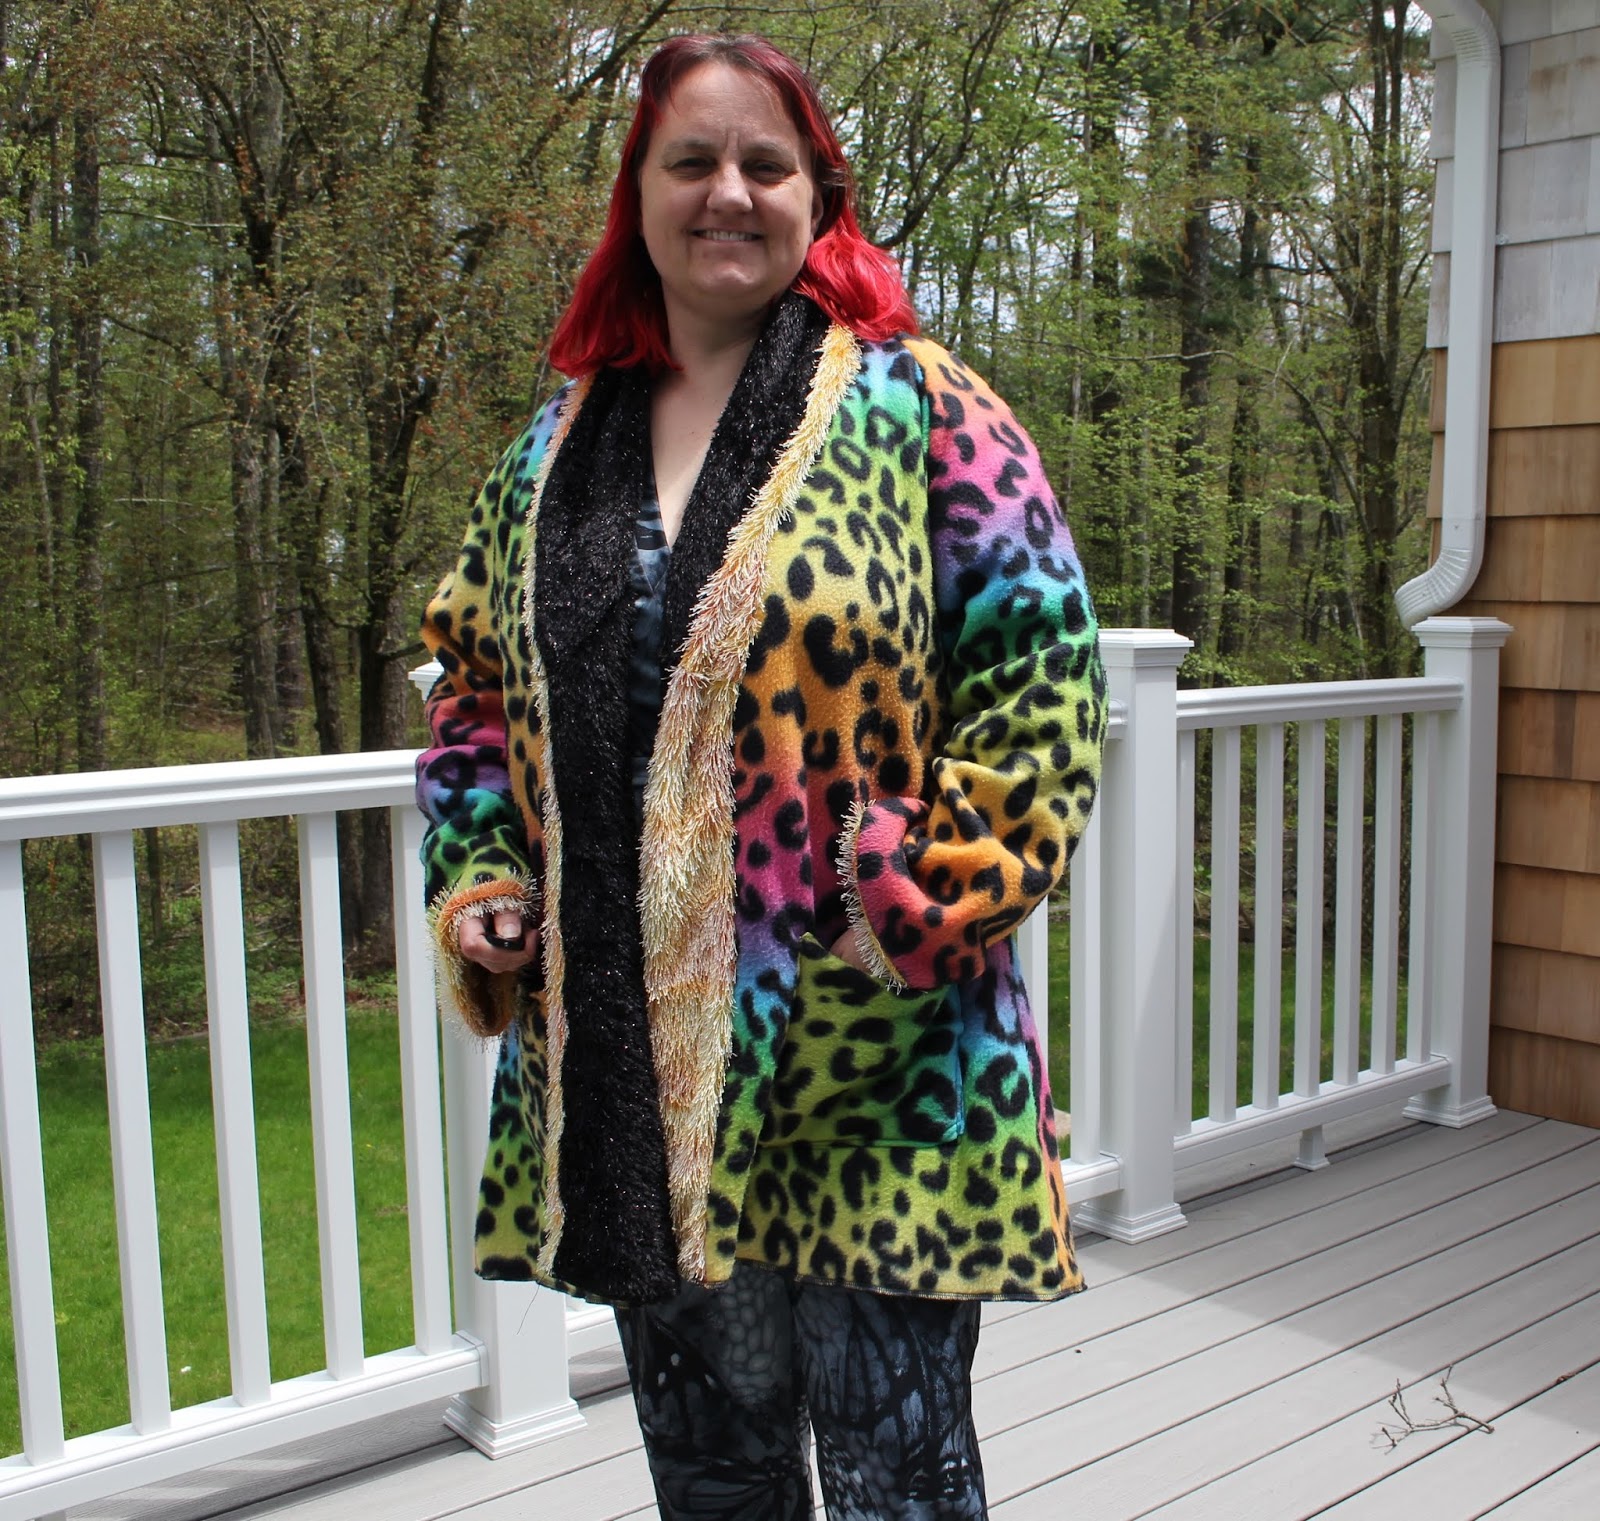
Fabric: The fabric I used is a cheap poly lycra from stash. It's quite heavy, almost feels like a light weight scuba which I like for this application. I'm not sure it has the 60% stretch specified - only if you pull it really hard, but it has good recovery and I haven't had a problem yet. The fabric is white with the design printed on one side - big butterflies in shades of black, white and grey. I bought it a while ago and never really knew what to use it for but I think this was the perfect project for it.

Conclusion: So what do I think of it on....I love it. Is it super flattering - well no jumpsuit is going to be super flattering on my figure but this is really not bad. I really love the way this turned out and will definitely make a shorts version of it for summer and I'd also love a more colourful version of the full length one too.


Sizing:
This is something that I struggle with every time. Feel free to jump through this boring stuff -I just like to document it so I know what I did this time so I can either do it again if it works or try something different if it doesn't.
Where to start with the sizing. First off I measured my body.
Bust 41"
high bust 37"
underbust 34
waist 40.5"
hips 43.5"
According to the pattern that puts me in:
Bust (based on bust measurement)- size 46
waist - off the chart - above size 52
hips - size 46
I found that Deer&Doe design their clothes for a size C-D bust (mine is a size G or thereabouts) and 5'6" (I'm 5'1") so I knew the first thing I was going to have to do was take out length - the question was where.
I grabbed one of my fitted to me patterns and lined it up with the bodice of the sirocco pattern.
For the back bodice: Making sure that the center lines aligned I found that I wanted to cut the back shoulders at size 40 tapering out to 46 under the arms. However I then had to raise the back neckline to a size 52 to account for my rounded back/shoulders (hunchback).

I decided where I wanted the waistband based on my original pattern and found that I needed to take 2.25"out of the length at center back grading out to only 1.5"at the side seam.
For the front bodice: I pretty much redrafted this entirely.. I originally tried to do something similar to what I did at the back, grading from a 38 at the shoulders to a 46 under the arms, but when I basted it together and tried it on it gaped horribly at the underarm and the front was too short overall - It wasn't pretty.
So for my second attempt I went back to my fitted pattern. I aligned the center front of my fitted pattern with the center front marks on the sirocco pattern and then moved it up and down this line until the side seam matched up with the back side seam with enough length at the front to make it sit where it's supposed to. This meant that the front shoulder height was cut at size 50 but then the inside shoulder point was brought in to match the back shoulder length. I also had the raise the underarm point by 1.75". The width under the arm was graded from about a 44 to a 52 at bust level and then the pattern tapers down to the size 52 length. I'm not 100% happy with the way the front bodice fits around the armhole - I had to do some tweaking to get the sleeve to fit right.


Waistband: since I was off the charts for this measurement I decided to just cut it at size 52 and see how it fit and it worked fine so that's what I kept. To fit the back and front pieces onto the waistband I just played with the width of the darts. I reduced the back darts to 3/8" and ended up using a 1.5" dart at the front.
Pants: When it came to the pants I knew I wanted to keep the pattern as drafted at the top of the pants - those pleats are the detail that really make this pattern special and I didn't want to play with that. I knew my waistband was a size 52 so I started by cutting my pants at a straight 52 width, but with 2" taken out at about knee height. I then basted it together and figured out just how much had to come out. I decided I needed at least 1" out of the rise, plus another 1" out of the length at the thigh. I then tapered the pants in to a size 42 at the crotch and then down to 40 at the ankle. The pockets were cut at the size 52 but tapered in along with the side seams.

Sleeve: The final issue was the sleeve. I originally cut the sleeve at the size 38 sleeve cap tapered to 46 at the underarms as I had cut out the bodice before I found out I had to change the front and add the extra height at the back shoulder for my hunchback. The overall circumference of the sleeve was still good but the distribution was out, so I ended up staggering the underarm seam so it no longer lines up with the side of the bodice but is about 1" skewed to the back. Not the best but I didn't have enough material left over to recut them so I just went with it.

To get the sleeves to fit nicely I ended up having to take a 1.25" seam in the front of the arm hole tapering to about 7/8" at the shoulder and to the standard 3/8" about 2" down the back of the shoulder and under the arm. I will have to go back at some stage and figure out why this was necessary, but for now I'm just going to enjoy my finished jumpsuit.

Construction: Once I finished making all my pattern modifications I sewed the whole thing together. Most of it was done on the overlocker, with hems done with a zig zag on the normal machine. I took a 2" hem in the bottom of the pants to get them to the length I wanted. I didn't have any clear elastic for the pockets so I used some dodgy fold over elastic instead and it worked fine. It's a bit bulky but at least the pockets sit nicely. The sewing and construction is really quite easy - it's just the fitting that takes a while, but I'm sure if you are a more standard size it wouldn't be as bad!

Fabric: The fabric I used is a cheap poly lycra from stash. It's quite heavy, almost feels like a light weight scuba which I like for this application. I'm not sure it has the 60% stretch specified - only if you pull it really hard, but it has good recovery and I haven't had a problem yet. The fabric is white with the design printed on one side - big butterflies in shades of black, white and grey. I bought it a while ago and never really knew what to use it for but I think this was the perfect project for it.

Conclusion: So what do I think of it on....I love it. Is it super flattering - well no jumpsuit is going to be super flattering on my figure but this is really not bad. I really love the way this turned out and will definitely make a shorts version of it for summer and I'd also love a more colourful version of the full length one too.