


A couple of weeks ago we had a couple of days of unseasonably warm weather. 26C/70F in February - wooohooo have to love that. The kids had a half day of school so I loaded the bikes into the back of the car to take them to the local bike path for the afternoon. Since I was planning on roller blading after the kids I figured I would need to break out of the shorts (or the 3/4 length pants anyway) and then went searching for a pair of slip on shoes to wear with them.
Nothing.....nada...The last time I bought a pair of sandals was just after the birth of my daughter - 8 years ago. Those sandals are officially worn out and I haven't found anything to replace them. For the last couple of years I've made do with just a pair of cheap thongs/flip flops and all my homemade shoes, but nothing slip on. So I finally decided it was time to do something about it.
The base of this shoe is 1/4" thick cork which I bought as cork sheets at the local hardware store. I traced the shape I wanted onto the cork and then cut them out.

The leather I used as the base of the sandal was salvaged from my old lounge suite - I went through and cut off as much leather as I could before we threw it out.

I cut the leather about and inch wider than the cork on all sides.
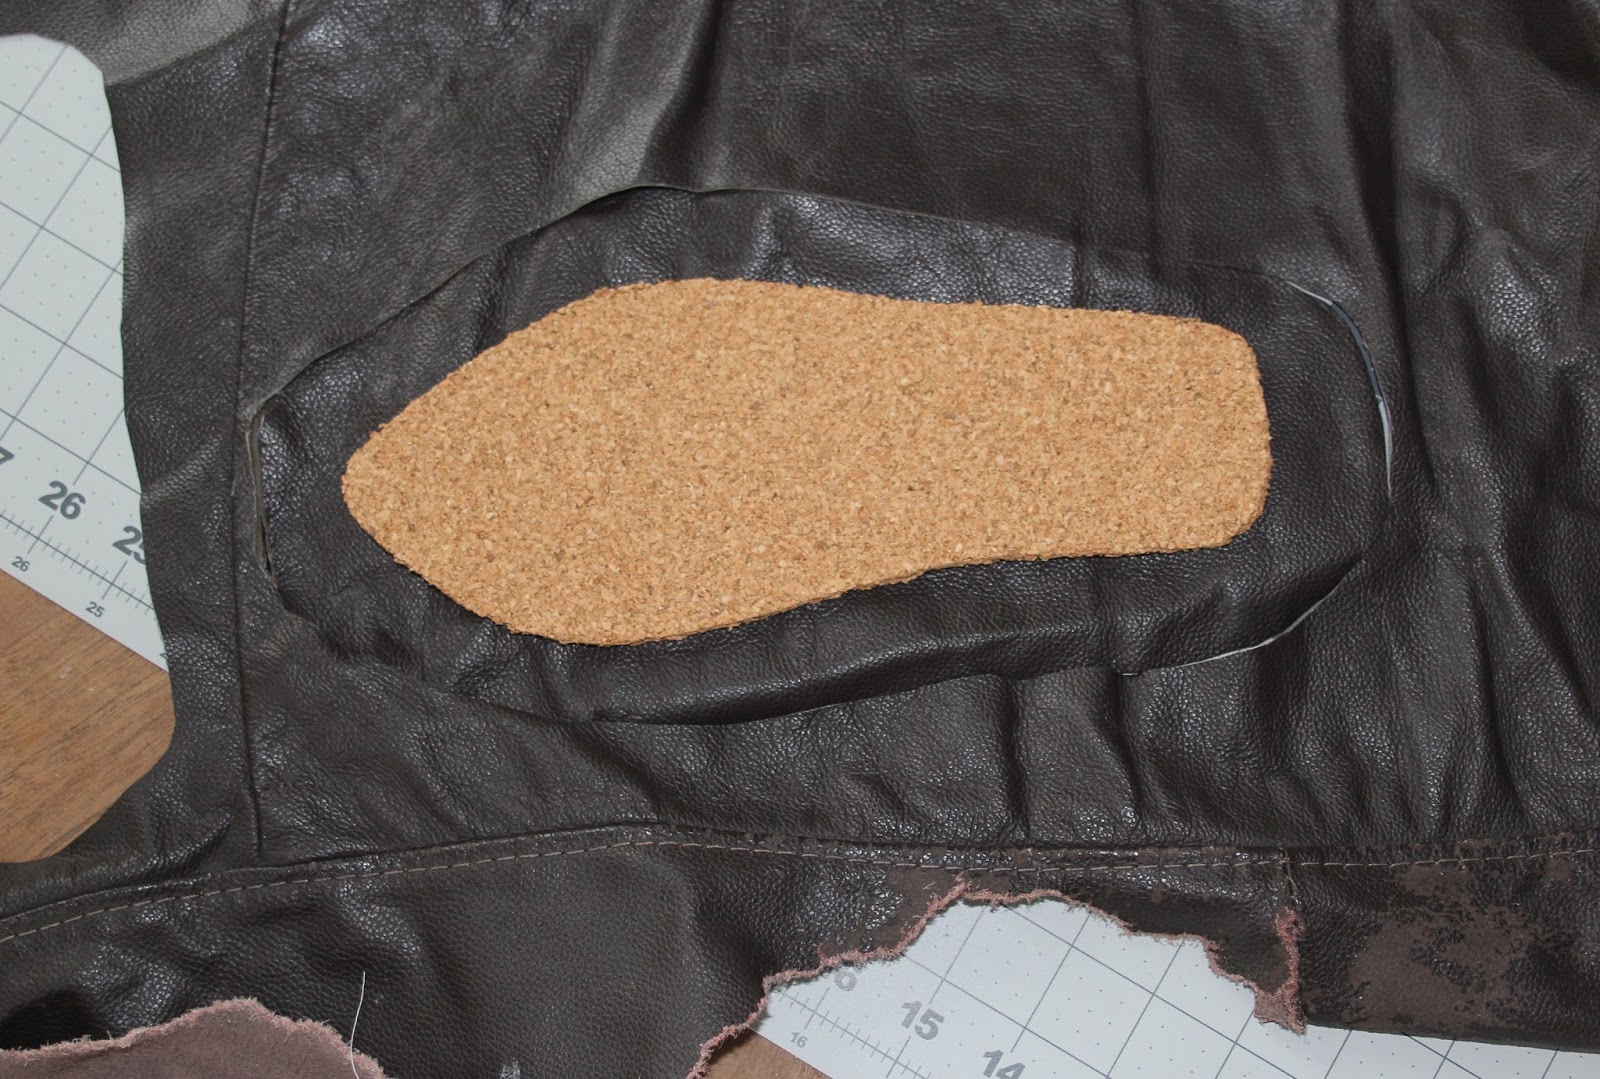

The leather was then sewed around the cork. For the front and back areas I hand sewed a running stitch around the outer edge and used that to gather the excess fabric before sewing across the cork to hold it all in place.


For the upper straps I found a piece of turquoise leather at Michaels. I cut two straps 5/8" wide and 2 1/4" wide for each sandal.

with my foot on the sole I placed the straps over the top of my foot in the arrangement I wanted and used duct take to hold each strap in place.


To add a bit more bling to the sandals I used silver metallic string to sew a couple of turquoise beads onto the straps. The silver thread was also used to keep each strap in place with respect to each other.


I placed the upper shoe on top of the rubber and cut around it.

Then used rubber cement on both sides to glue the two pieces together. Pegs were used to hold everything in place whilst the glue dried.


And we have a finished pair of sandals. Well technically we only have one finished shoe at the moment. I ran out of the rubber baseboard material before I could finish the second shoe but it will get done shortly. It looks like I have a little time on my hand - the weather turned cold again for one last attempt at winter. Hopefully soon spring will start for real!


Nice job! These bring to mind some sandals I saw that Jenny of the blog Cashmerette made. I can't remember if they were on her blog or just Instagram, but she took a continuing education class at (I think) MassArt in Boston. Maybe she went into details on her blog? Could be some fun research! I like your idea of using the cork. I also like the strap color you chose.
ReplyDeleteThanks, I've been looking for a shoemaking class around here but I havn't been able to find one. I'll have to look into what she's done. Thanks for that.
ReplyDelete