
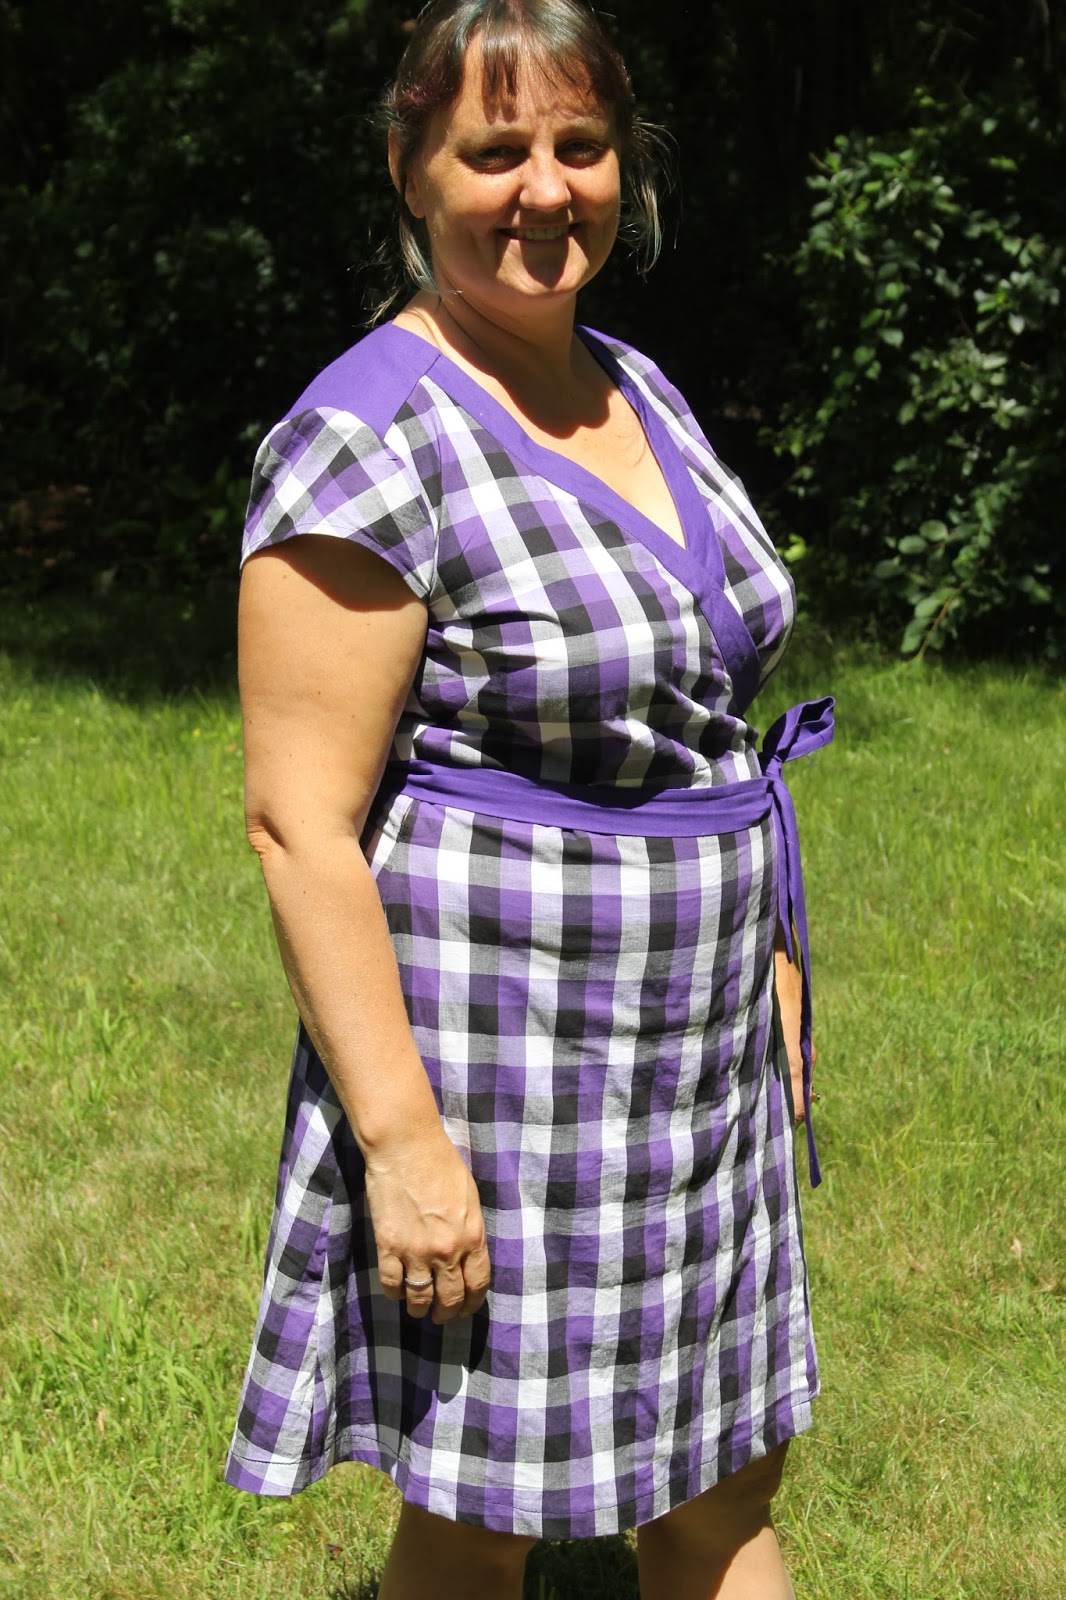
To make my second version I chose from my stash a piece of cotton fabric in purple, black and white plaid. This is a material with no stretch so according to the pattern instructions I really should have gone up a size, however this totally didn't cross my mind when I started the project so I went ahead and again cut out a size 14. This means that I've ended up with a dress that is just slightly to small.

I only had 2 yards of this fabric so I knew I was going to have to do a contrast, thankfully I managed to find in my stash just enough purple poplin cotton to make the yoke neckbands and ties. I did have to piece the longer tie together to get it out of the scrap of purple and I also had to make the neckband and yoke facings out of a plain black cotton to fit all the pattern pieces on.

I like the way this sits around the arm holes better, but there are still some issues under my bust. I'm hoping that most of them are just due to the the lack of stretch making the dress sit in the wrong place on my bust, but I'll have to try again at the larger size to see for sure.
Unfortunately that does mean that the dress has a tendency to gape at the neckline - I've pinned it together here to get it to sit nicely.

I made a mistake when cutting out the back piece. I didn't have enough material to place the back piece on the fold so I planned to cut an extra seam allowance and put a seam up the back, but forgot when it came to cutting.

Thankfully I had one scrap piece big enough that I was able to cut an extra strip of fabric and pattern match it so that it's not too noticeable.

For the sleeves I again used the same cap sleeve pattern piece as last time rather than the sleeve that came with this pattern. I cut the sleeve on the bias to provide a bit more contrast (and so I didn't have to worry about pattern matching).
As for the skirt I found that the skirt on my original dress poofed out a bit at the hips so this time I folded both the front and the back skirt pattern pieces straight down from the waist, taking about 2" off the width of the skirt at the hem. What I didn't think about was how that was going to make the side seams sit. I should have changed only the front piece and not the back. As it sits now there's not quite enough material to go around my butt anymore. If - sorry make that when - I make this again I think I'll put darts into the back skirt piece to provide more room for my butt without creating extra width at the side.
But back to this version - due to my lack of forethought, the side seams are now a bit too far back on my body, which makes the pockets a bit hard to get my hands into, and it means that the overlap in the front isn't quite as deep as it could be.


Next up I'd like to try this pattern in a knit fabric to see how that fits.
really lovely (you have been very busy sewing!) I can't see the gaping, but if it was an issue I have seen wrap tops where the v was cut on the staight grain which I think could be effective (I did one where I eased the wrap into the binding to keep it closer) .....adore that plaid and it looks great
ReplyDeletePretty!
ReplyDelete